How I Self-Hosted n8n on a Raspberry Pi 4 with a Secure Cloudflare Tunnel (No Docker)
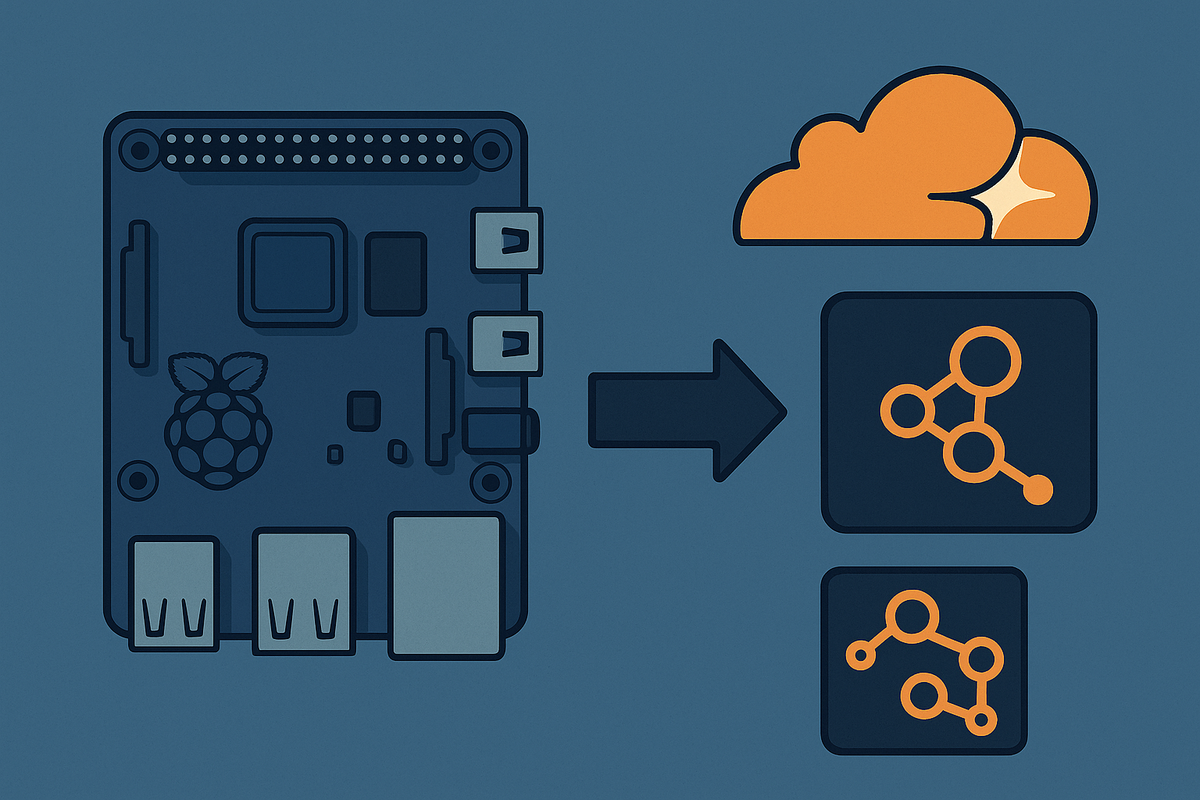
If you're looking to self-host n8n on a Raspberry Pi for home automation or personal workflow orchestration, you're in the right place. In this post, I’ll walk you through how I installed n8n using npm (no Docker required) on a Raspberry Pi 4, and made it securely accessible from anywhere using a Cloudflare Tunnel.
This is perfect for Raspberry Pi tinkerers who prefer to avoid containerisation or want full control of their system.
🧰 Prerequisites
Before you begin, make sure you have:
- Raspberry Pi 4 (2GB RAM minimum recommended)
- A microSD card (at least 16GB, Class 10)
- Another computer (Windows/macOS/Linux) to flash the SD card
- Raspberry Pi Imager
- A Cloudflare account with a domain
- Basic terminal/SSH knowledge
1. 🖥️ Flash Raspberry Pi OS Lite with Raspberry Pi Imager
Before installing n8n, you need a clean Raspberry Pi OS Lite installation.
a. Download and Install Raspberry Pi Imager
Get it from the official site:
🔗 https://www.raspberrypi.com/software/
Install it on your computer.
b. Prepare the microSD Card
- Insert your microSD card into your computer.
- Open Raspberry Pi Imager.
- Choose OS → Scroll down to "Raspberry Pi OS (other)" → Select "Raspberry Pi OS Lite (64-bit)".
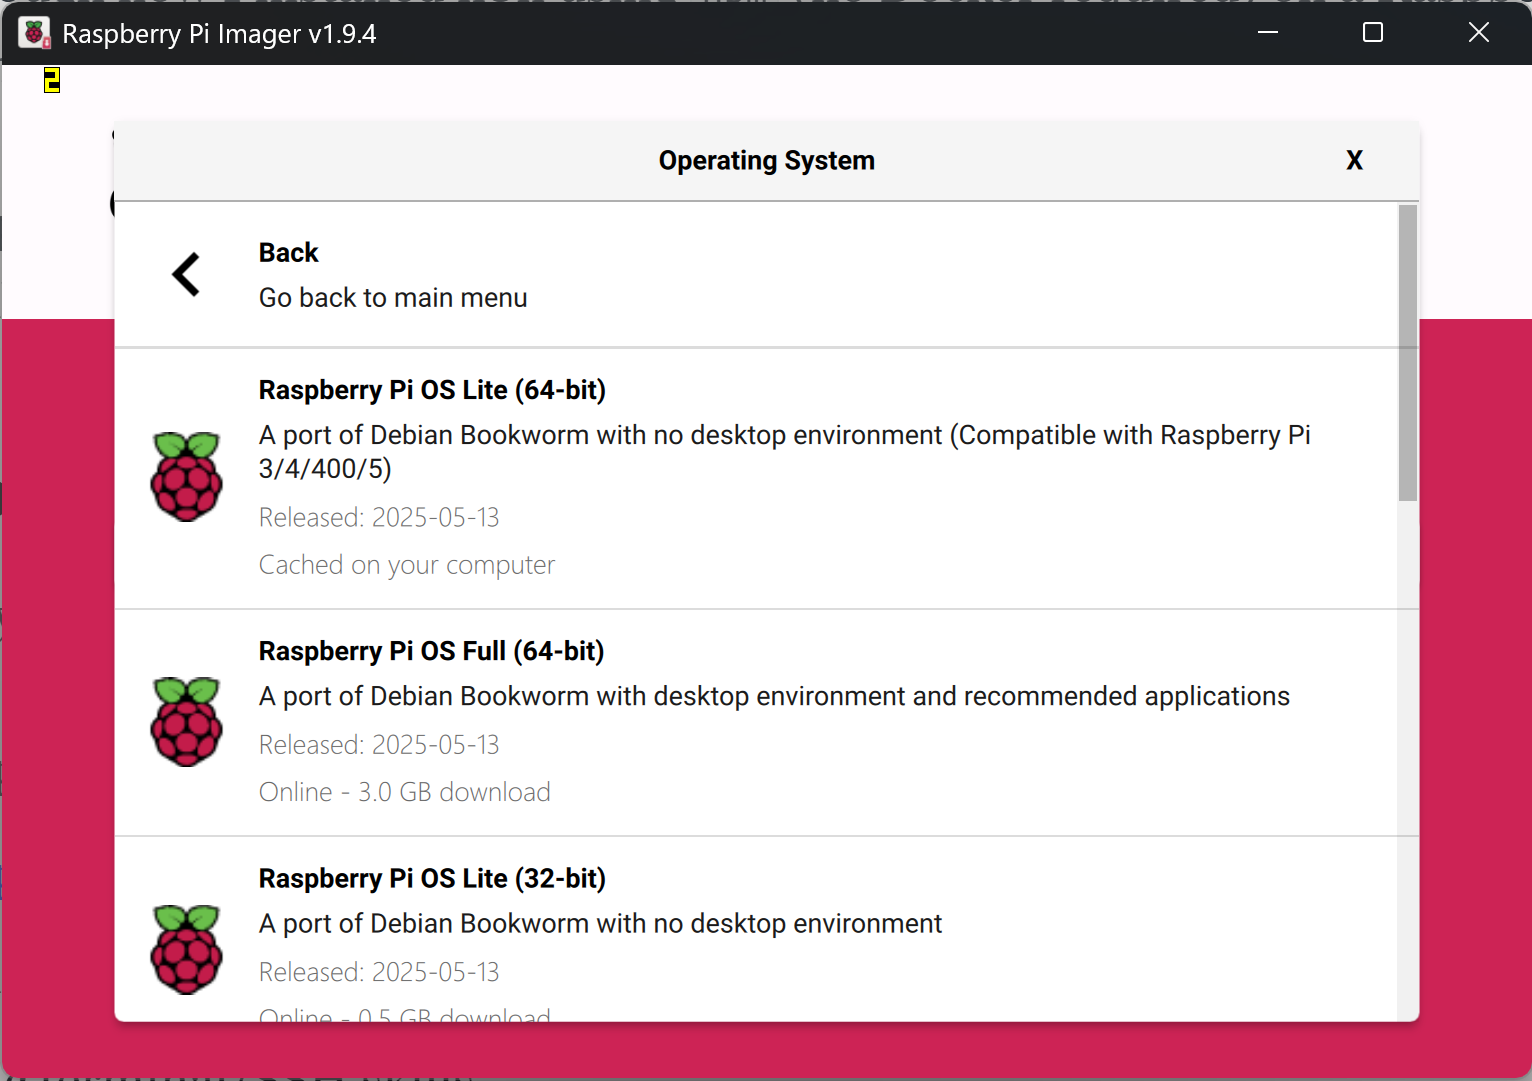
- Choose Storage → Select your SD card.
- Click the gear icon (⚙️) in the bottom-right corner (advanced settings) and:
- Enable SSH.
- Set a hostname (e.g.
n8n.local). - Configure Wi-Fi if you want to use Wi-Fi (I opted for Wi-Fi over ethernet for quicker setup)
- Set the username and password (this will be used for you to login to SSH)
- I used the username
n8ninstead of the usualpi
- I used the username
- Click Save then Write.
- Once the process completes, insert the card into your Raspberry Pi and power it on
Give it a couple of minutes to boot up. You can then SSH into n8n@n8n.local. Since I'm using Windows, I use Putty as my SSH client, but most SSH clients should work the same. If that doesn't work, find its IP address from your router and run n8n@<ip-address> .
2. ✅ Installing n8n on Raspberry Pi (Without Docker)
Following the guide by PiSugar (🔗 Original Tutorial), here’s how I did it:
a. Update system and install Node.js
sudo apt update && sudo apt upgrade -y
curl -fsSL https://deb.nodesource.com/setup_18.x | sudo -E bash -
sudo apt install -y nodejs build-essential
Verify the installation was successful with
node -v
npm -v
b. Install n8n globally
sudo npm install n8n -gYou can now run n8n directly, but we'll turn it into a service so it starts automatically on every boot.
3. ⚙️ Run n8n as a Systemd Service
Create the service file:
sudo nano /etc/systemd/system/n8n.servicePaste this:
[Unit]
Description=n8n Automation Tools
After=network.target

[Service]
ExecStart=/usr/bin/n8n
Restart=always
Environment=PATH=/usr/bin:/usr/local/bin
Environment=NODE_ENV=production
Environment=N8N_SECURE_COOKIE=true
Environment=N8N_BASIC_AUTH_ACTIVE=true
WorkingDirectory=/home/n8n/

[Install]
WantedBy=multi-user.target
Then:
sudo systemctl daemon-reexec
sudo systemctl enable n8n
sudo systemctl start n8n
n8n is now running in the background on port 5678.
You can access it by going to http://n8n.local:5678 or http://<ip-address>:5678
Once you manage to access the n8n GUI, create your account and login!
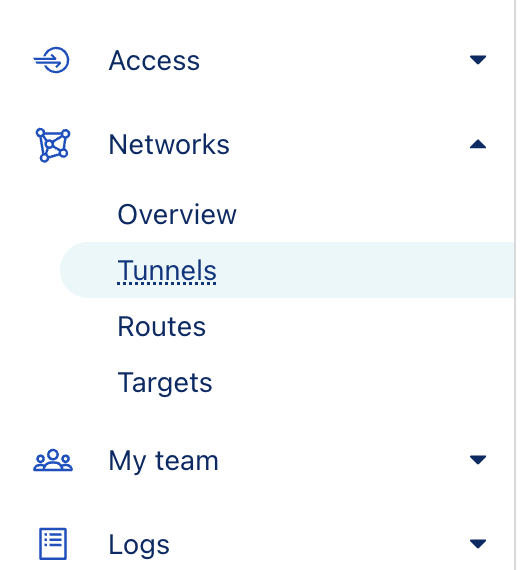
4. 🌐 Create a Cloudflare Tunnel (Using the Dashboard)
Instead of installing cloudflared manually, we’ll use Cloudflare’s Zero Trust dashboard which manages most of the complexity for you. I originally followed some of the steps in 🔗 King_Samuel_David's post on the n8n forums.
a. Log in to Cloudflare
Go to:
🔗 CloudFlare Zero Trust Dashboard
b. Create a New Tunnel
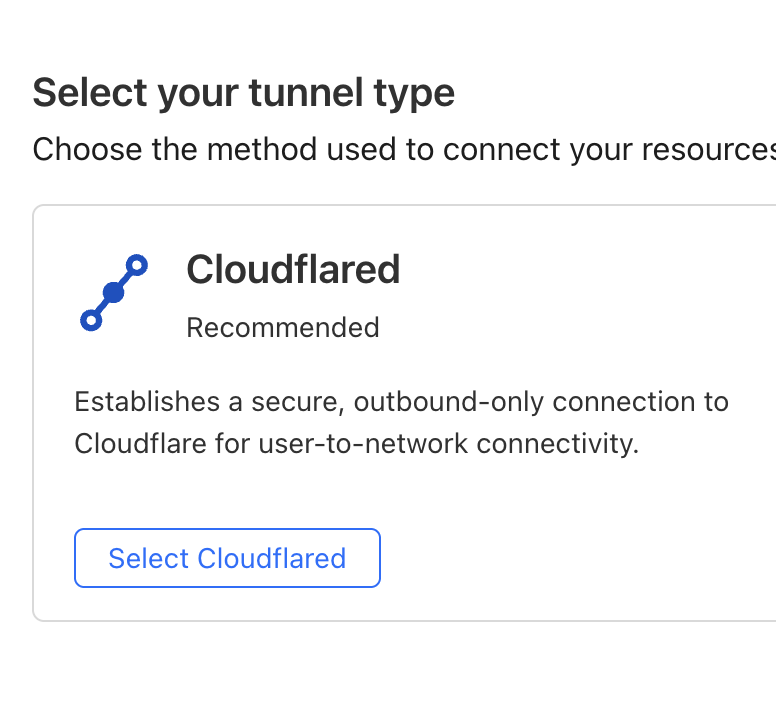
- Navigate to Networks > Tunnels in the Zero Trust dashboard.
- Click Create a tunnel and select Cloudflared as the tunnel type
Creating the tunnel
- Give your tunnel a name (e.g.,
n8n-local) and click Save tunnel. - On the next screen, Cloudflare will offer you an installation command for your system. Choose:
- "Debian"
- Copy and paste the entire script into your Raspberry Pi’s terminal to install
cloudflaredand authenticate it.
- Once authenticated, return to the dashboard and click Next.
c. Set the Public Hostname
- Add a Public Hostname:
- Subdomain: e.g.,
n8n - Domain: select your Cloudflare-managed domain
- Service Type:
http - URL:
http://n8n.local:5678orhttp://<ip-address>:5678
- Subdomain: e.g.,
Click Save. The tunnel will now be live and accessible at:
https://n8n.yourdomain.com
No port forwarding or dynamic DNS required! But wait, we're not done yet...
5. 🔒 Add Zero Trust Access with Google Login
Let’s restrict access so only approved users can access the tunnel URL.
a. Enable Zero Trust
If you haven’t already:
- Go to https://dash.cloudflare.com
- Choose your account → Zero Trust
- Set up your organisation name and team domain if you don't already have it (e.g.,
your-name.cloudflareaccess.com)
b. Add Google as a Login Method
- Navigate to Settings → Authentication
- Scroll to Login Methods
- Click Add new, then choose Google
- Set a name (e.g.,
Google) - You'll require an
App IDand aClient Secret- follow the instructions displayed on how to obtain this via Google Cloud Console.
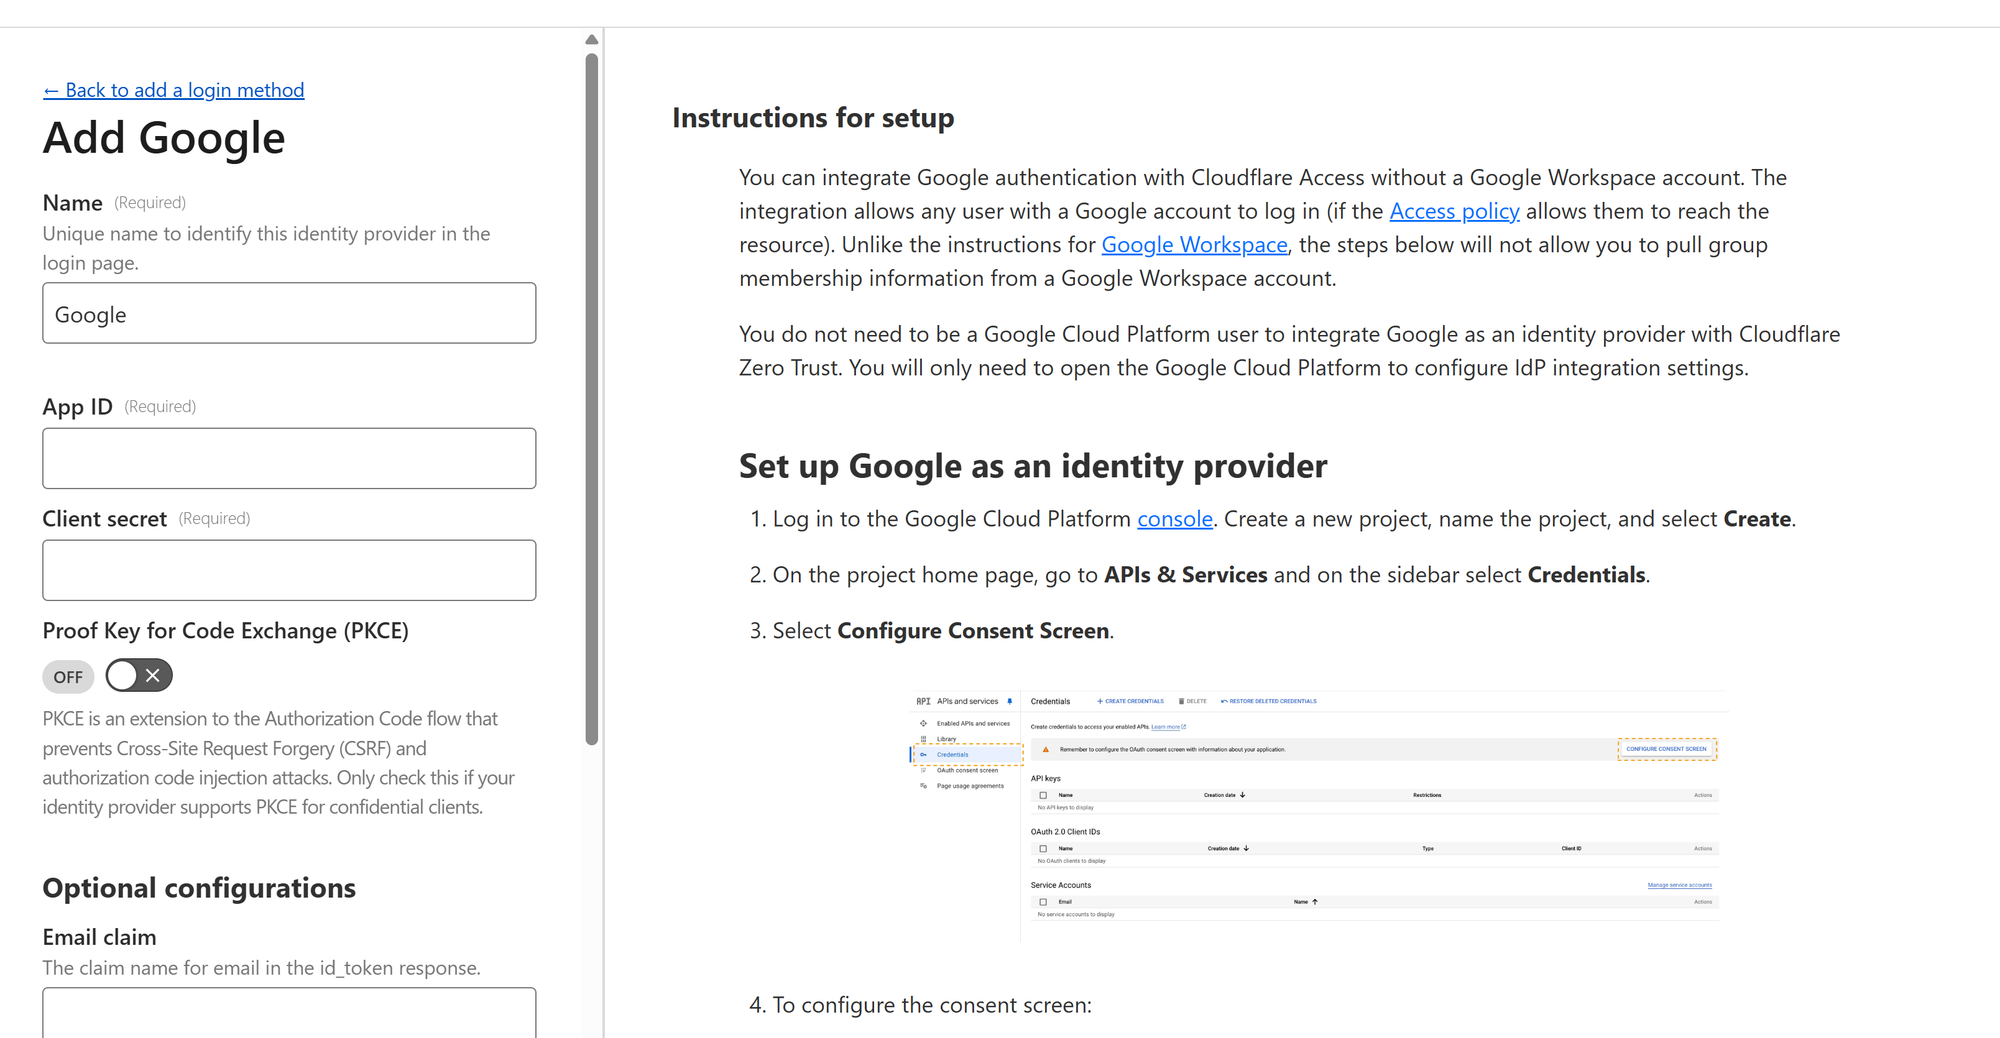
Once you've completed the step successfully, you can save the login method and it's ready to use in a security policy which you will apply to an application in CloudFlare (in our case it's the n8n instance).
c. Create a Cloudflare Access Application
- Go to Access → Applications
- Click Add an application
- Choose Self-hosted
- Fill in:
- Name:
n8n - Domain:
n8n.yourdomain.com
- Name:
- Click Next
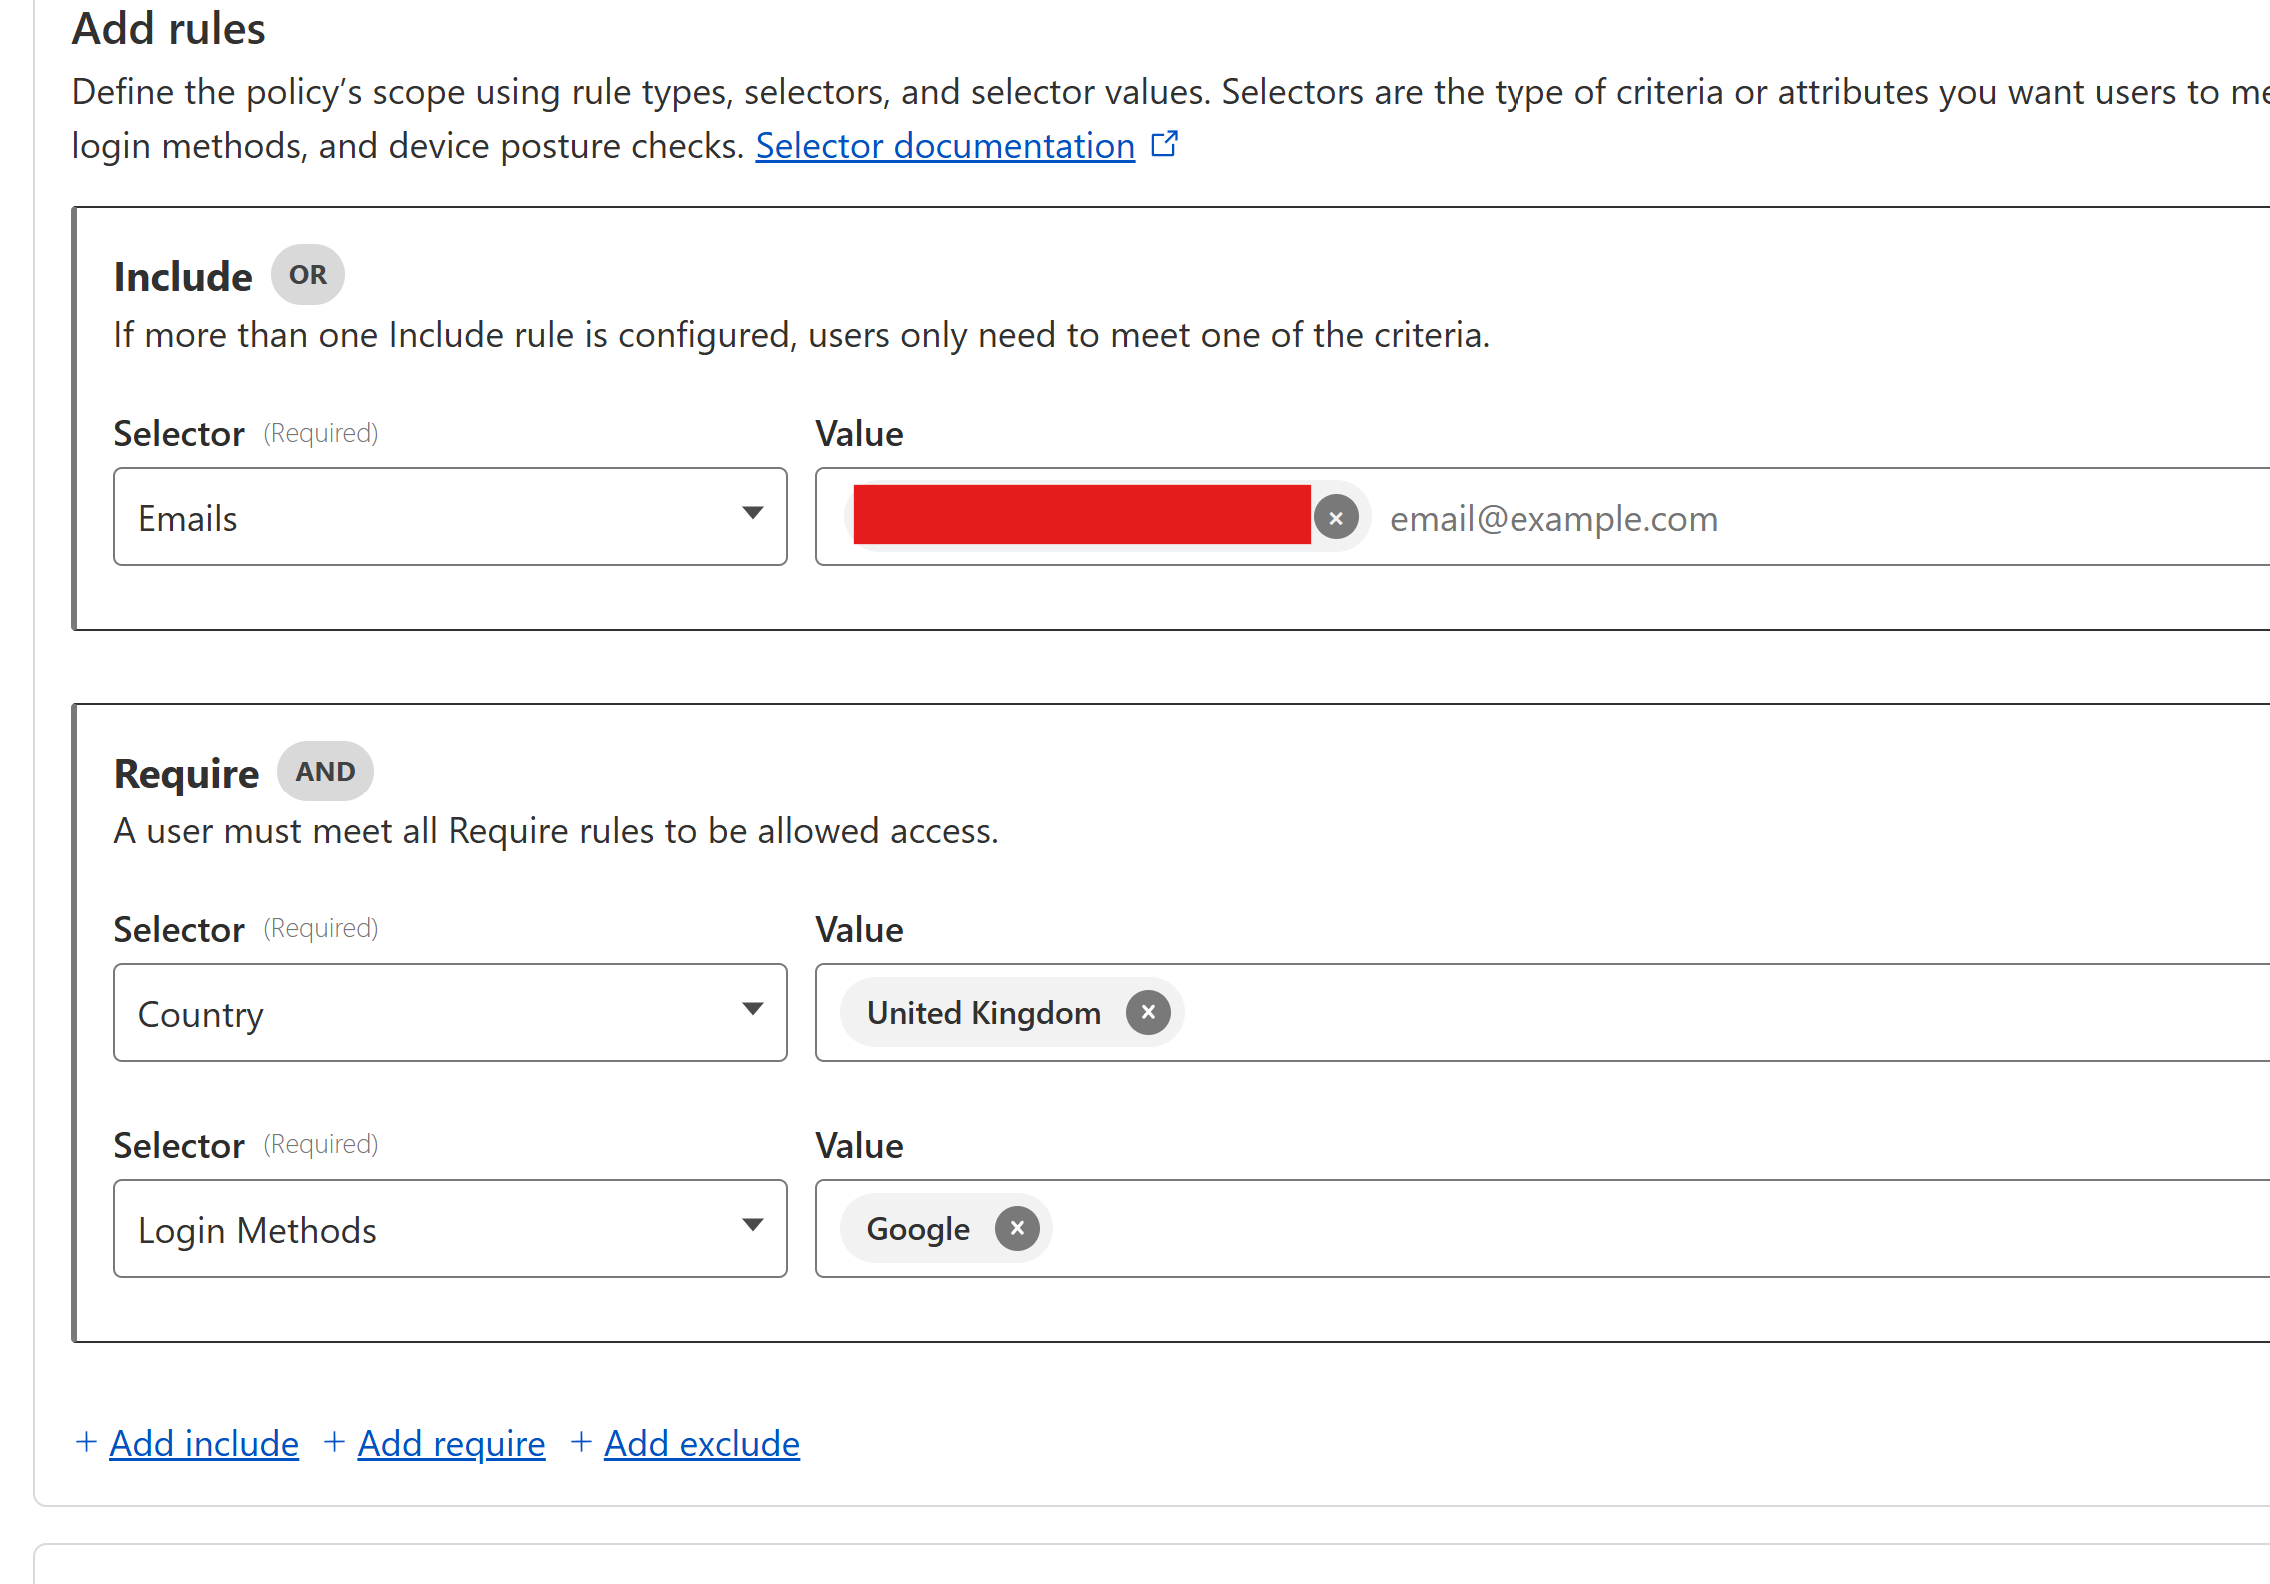
d. Create a Policy
- Under Policies, click Add a policy
- Policy name:
Allow Google Users - Action: Allow
- Include → Emails where the value is your email address you want to use for authentication (Gmail address)
- Require → Country - set to your country; Login Methods - choose your newly added Google login method.
- Leave session expiration as 24 hours.
- Save policy and finish setup
It should look something like below:
Try out the policy tester below to ensure your Google login method works.

🧪 Test Your Setup
Open your browser and navigate to:
https://n8n.yourdomain.com
Cloudflare will first prompt you to log in via Google, then grant access to the n8n interface.
You still have n8n’s own basic auth for double security. Use the credentials you created earlier when setting up n8n via the GUI.
🔐 Security Notes
- Always use
N8N_BASIC_AUTH_ACTIVE=truefor public instances- Set
N8N_BASIC_AUTH_ACTIVE=falseonce Cloudflare Access is live if you want to use only Cloudflare Zero Trust
- Set
- Use a strong password - read my article on why strong passwords online are imporant to protect yourself
- Keep your system and n8n up to date.
- Use Cloudflare Access logs to monitor usage
- You can apply IP restrictions or country-based rules
📚 References
- PiSugar n8n Setup Guide
- Cloudflare Tunnel Docs
- Cloudflare Access Policies
- Raspberry Pi Imager
- n8n Environment Variables
- King_Samuel_David's CF Zero Trust Tunnel setup
- Google OAuth Setup for Access
🚀 Conclusion
With n8n running on a Raspberry Pi and protected behind Cloudflare Tunnel + Zero Trust + Google login, you’ve created a robust, secure, and self-contained automation server - with no open ports, no Docker, and full control.
The possibilities are endless with this setup and I'm yet to explore what it can do for me!
Comments ()