3D printing with the Bambu Lab A1 printer
In my previous article, I walked through the fundamentals of getting started with 3D printing - from understanding filament types and slicers, to getting your first print off the bed. After some time spent learning and experimenting, and almost 3 years not doing any 3D printing, I decided to level up my printing game with a more capable machine: the Bambu Lab A1 (affiliate link).
This article is a continuation of that journey - sharing what it’s like to move from entry-level hardware to a refined, feature-rich printer, and what makes the A1 such an exciting option for new and intermediate makers alike.
Why I Chose the Bambu Lab A1
After using basic 3D printers for a while, I found myself running into limitations: inconsistent print quality, frustrating bed leveling, and the constant tinkering just to get reliable output. I wanted a printer that would:
- Deliver high-quality results without constant adjustment
- Support multi-colour printing (a dream for many hobbyists)
- Be beginner-friendly but with room to grow
The A1 checked all those boxes, and then some. And it was only £239 on sale during the Bambu Lab 3 years anniversary sale!
First Impressions
Unboxing the Bambu Lab A1 felt like unwrapping a premium product. The packaging was clean, the assembly minimal, and it even included clear setup instructions via a QR code, and an included quick start booklet. I had it printing within 30 minutes - no firmware flashing, no fine-tuning - just plug and play.
Features That Impressed Me
🟢 Automatic Bed Levelling (ABL)
Gone are the days of fiddling with paper to level the bed. The A1’s ABL system worked flawlessly and gave me confidence that each print would start on the right foot (or layer).
🟡 Multi-Colour Printing with AMS Lite
Although I didn't purchase the AMS Lite, as I'm waiting for the AMS 2 Pro to support the A1 printers, it seems to be a very easy to configure system which will allow multicolour printing in Q3 2025 according to Bambu's website.
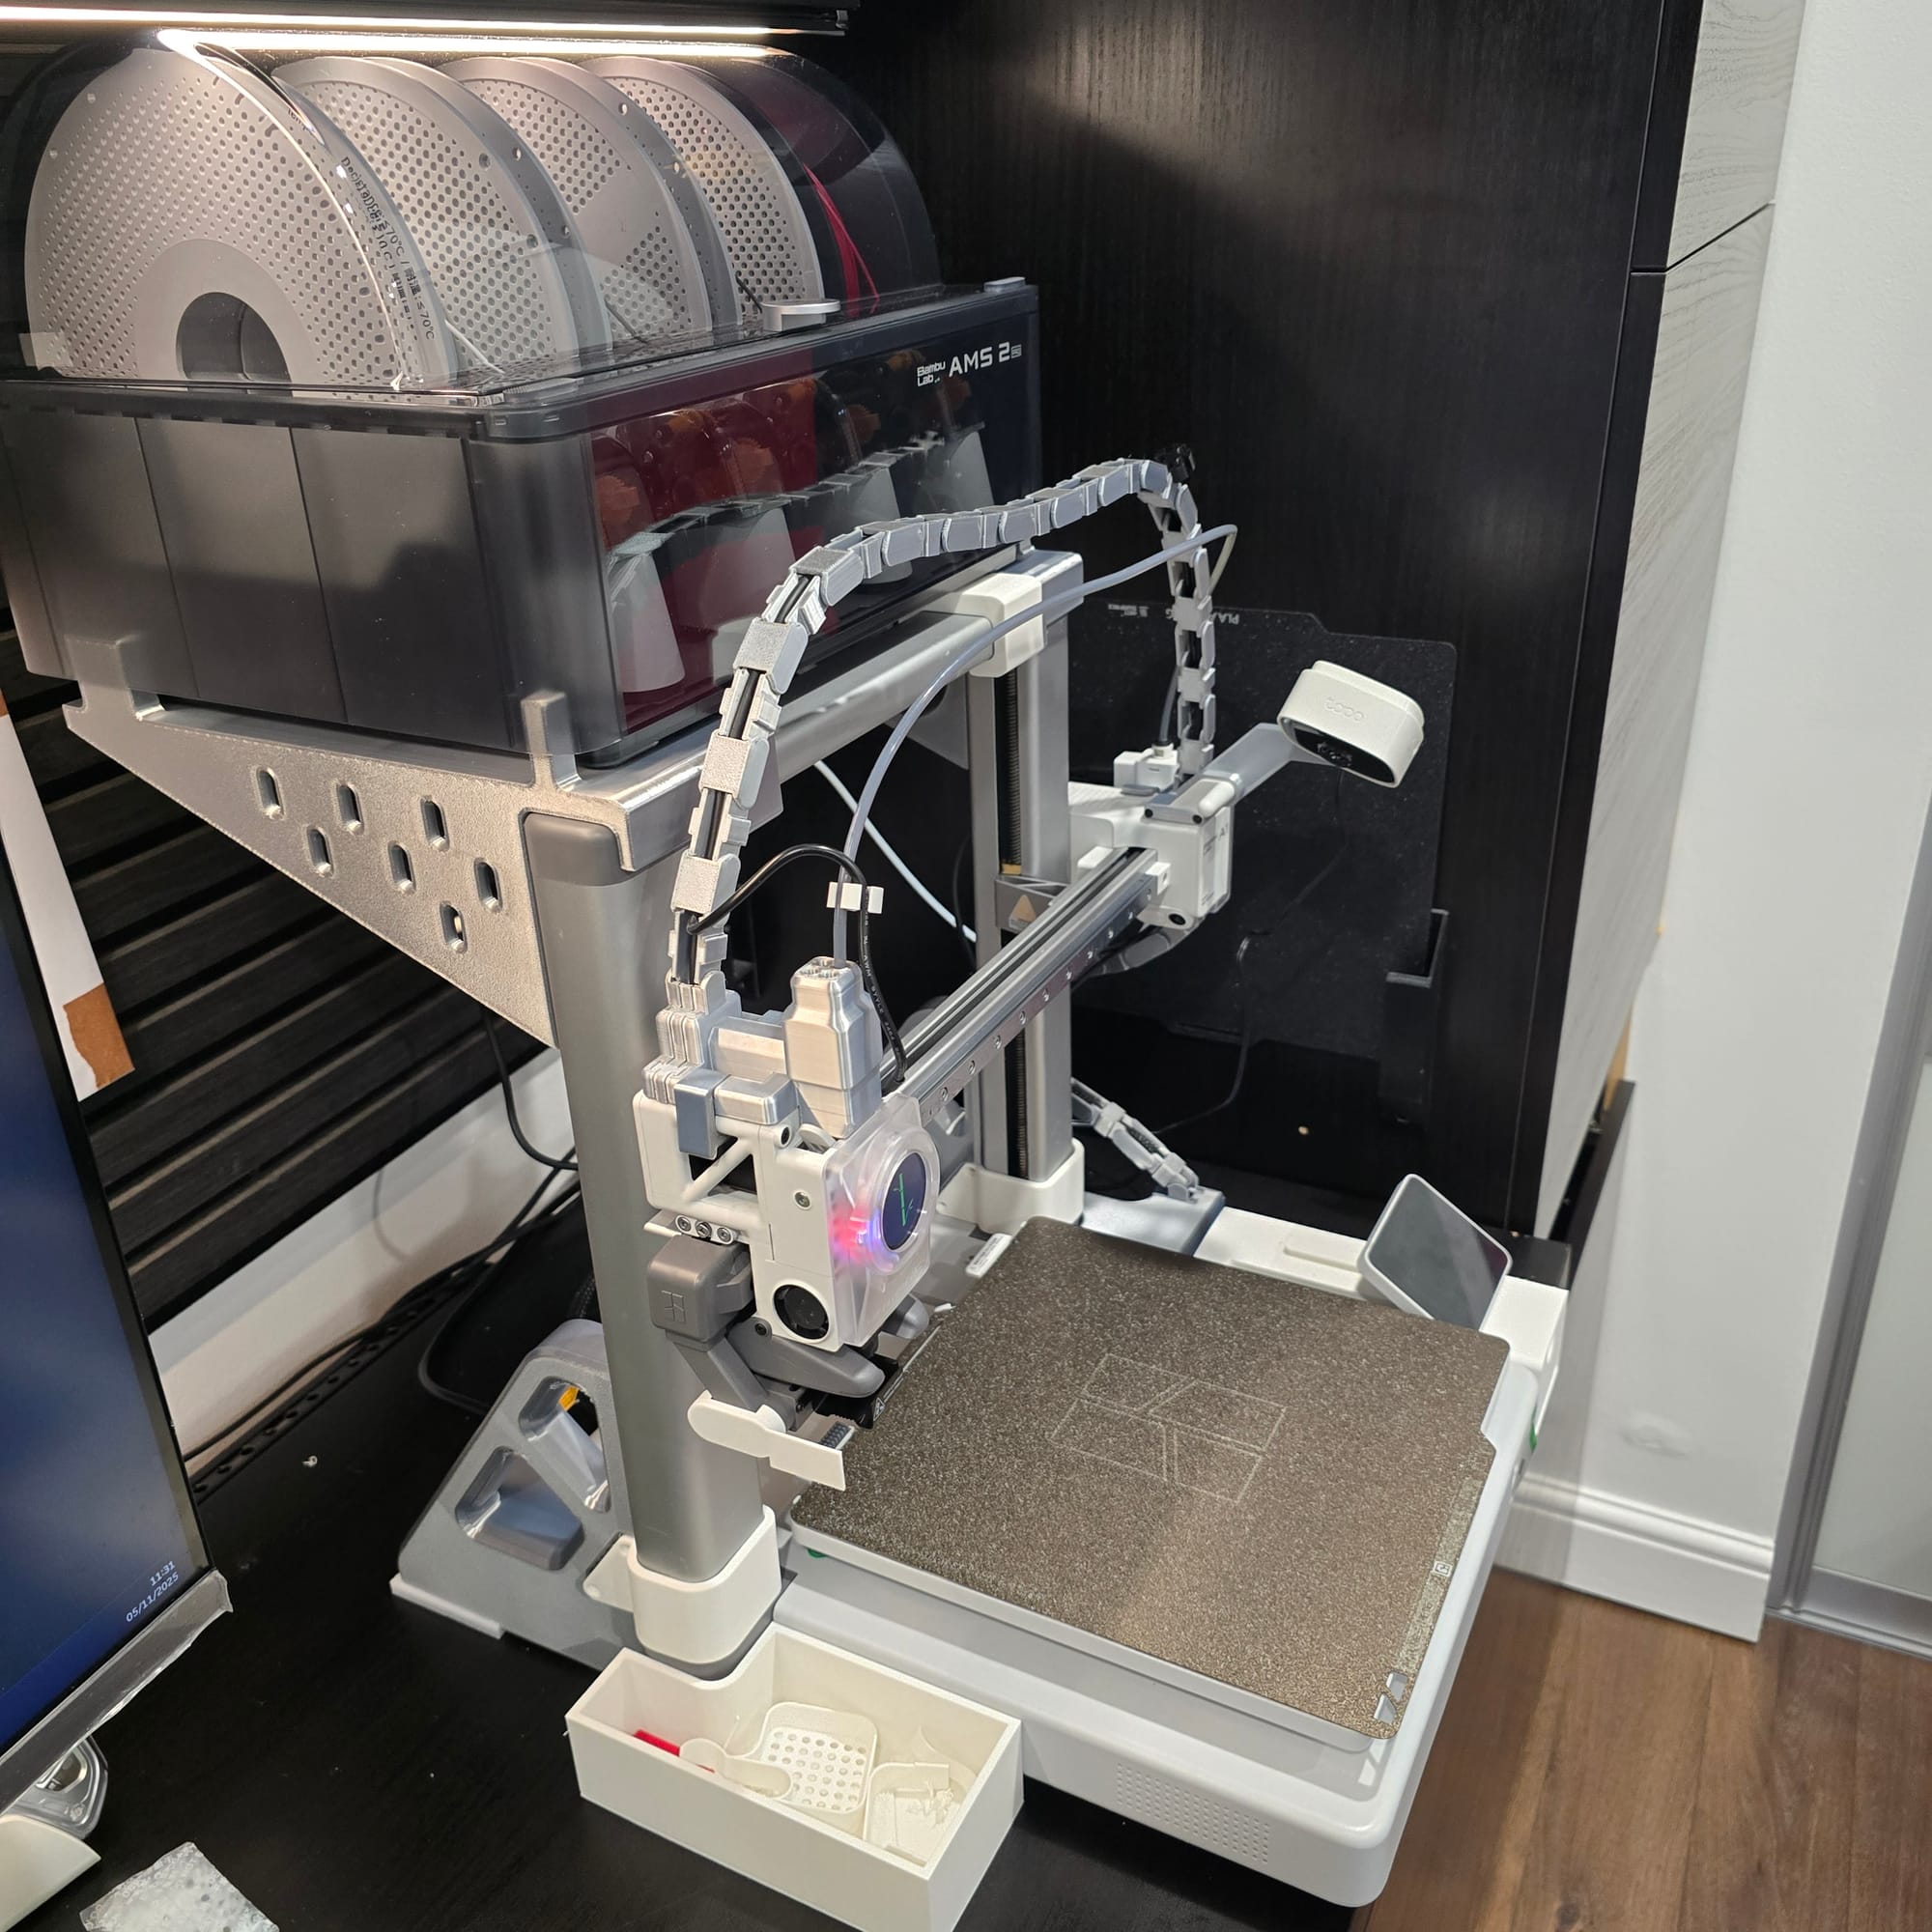
Update 30/08/2025: I bought the AMS 2 Pro as it was on offer for £249 instead of the usual £299, and I'm eagerly waiting for an update from Bambu Lab on support for the A1.
Update 01/11/2025: Bambu Lab finally launched the AMS Hub for use with the AMS 2 Pro and I couldn't be happier. I was able to easily set it up and got started quickly with multicolour prints. I'll write up a separate post for this!
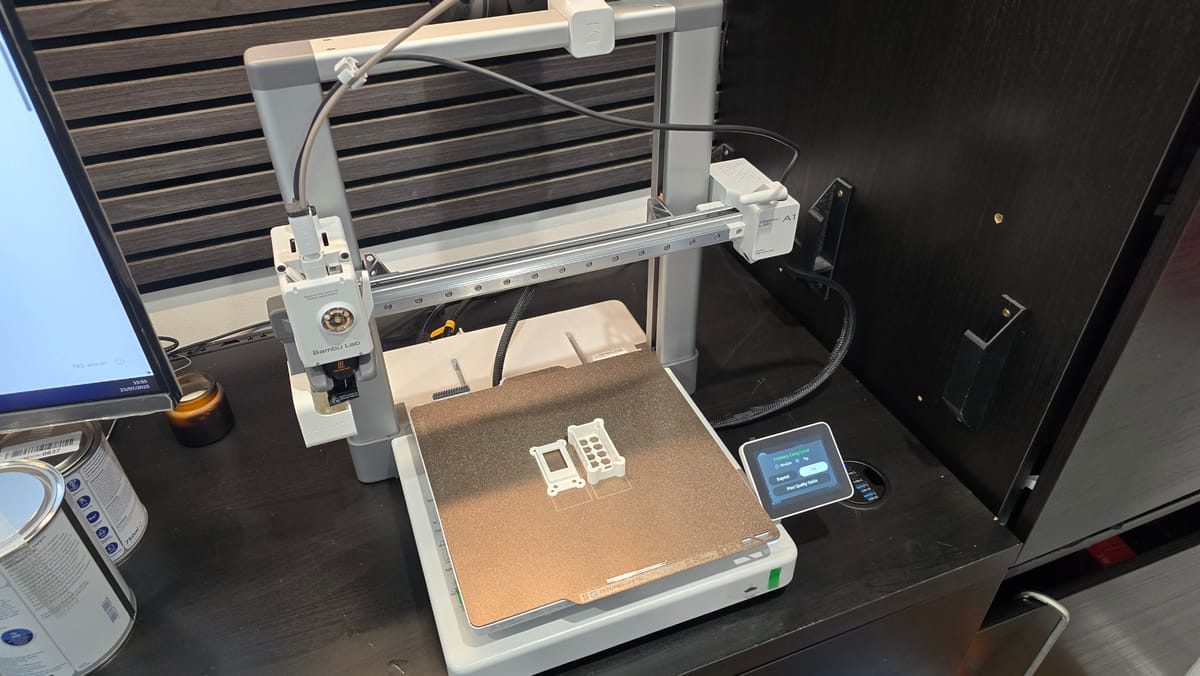
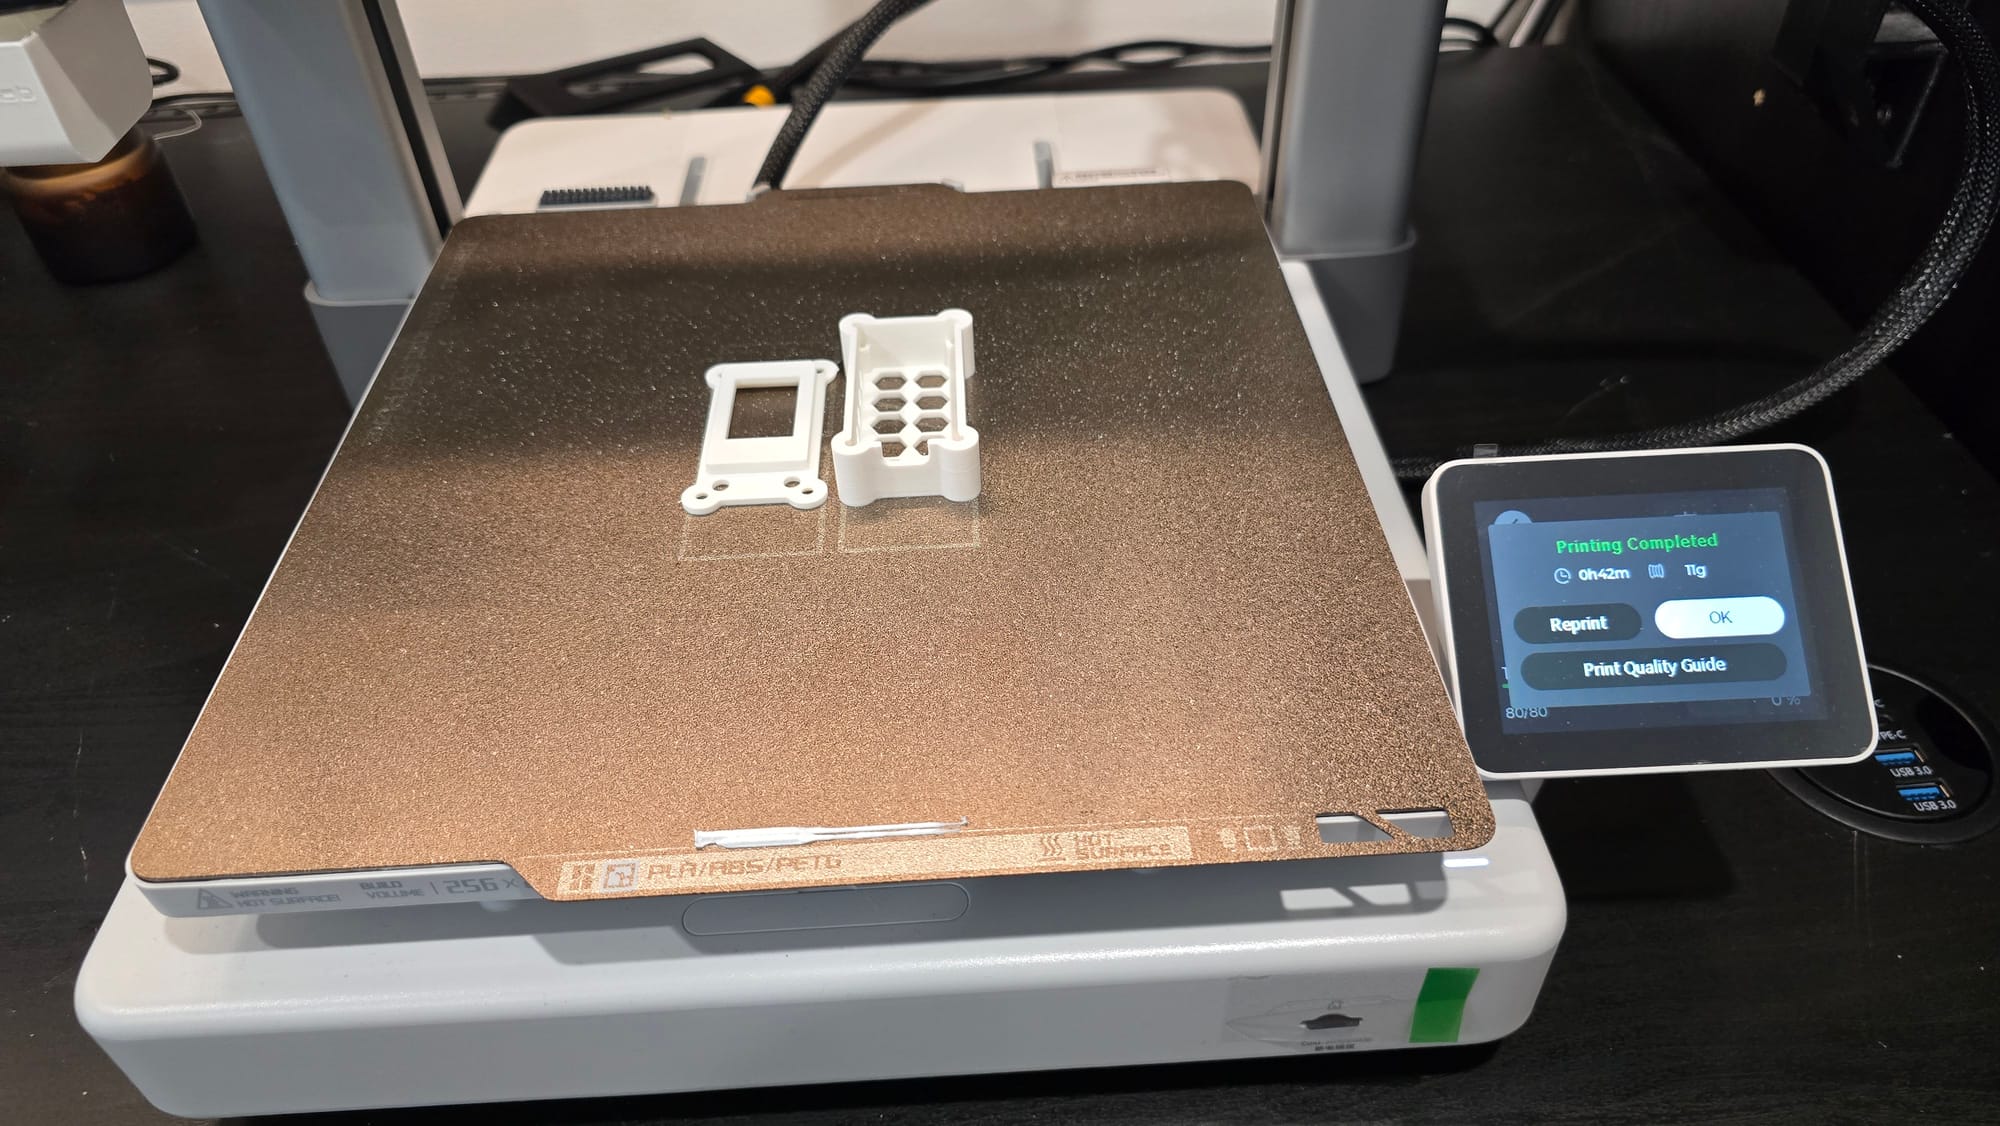
🔵 Print Speed and Quality
Bambu Lab has clearly optimised for speed without sacrificing quality. The CoreXY-style movement, combined with excellent vibration compensation, meant I could print models in a fraction of the time I was used to - with better surface finish. I can change print speed mid-print which is fantastic, as I can literally see print times drop from say 34 minutes to 18 minutes, almost halving my wait time! This is easily controlled on the printer's touchscreen or in the Bambu Studio app (Windows) or Bambu Handy app (mobile).
🟣 Remote Monitoring & Control
Using the Bambu Handy app, I could monitor prints from my phone, get push notifications, and even watch a live camera feed. This alone made me feel like I’d moved into a new era of printing convenience. Unfortunately, this means I don't need OctoPrint anymore although I did use OctoPrint for some years when I had the Anycubic Mega X - OctoPrint made managing your 3D printer so much simpler and centralised!
The Learning Curve
Despite its user-friendliness, there were still things I had to learn:
- Slicer Settings: The Bambu Studio slicer is great, and it can auto arrange multiple models in one plate, and it's much easier than what I've previously used, so this was a very simple learning curve.
- Filament Storage: With multi-material printing comes the need to store filaments properly to avoid moisture issues. In the past I left filaments out and they'd pick up moisture, resulting in bad prints. I've now learnt to keep them in sealed containers with silica gel sachets to ensure they stay dry for the best possible prints.
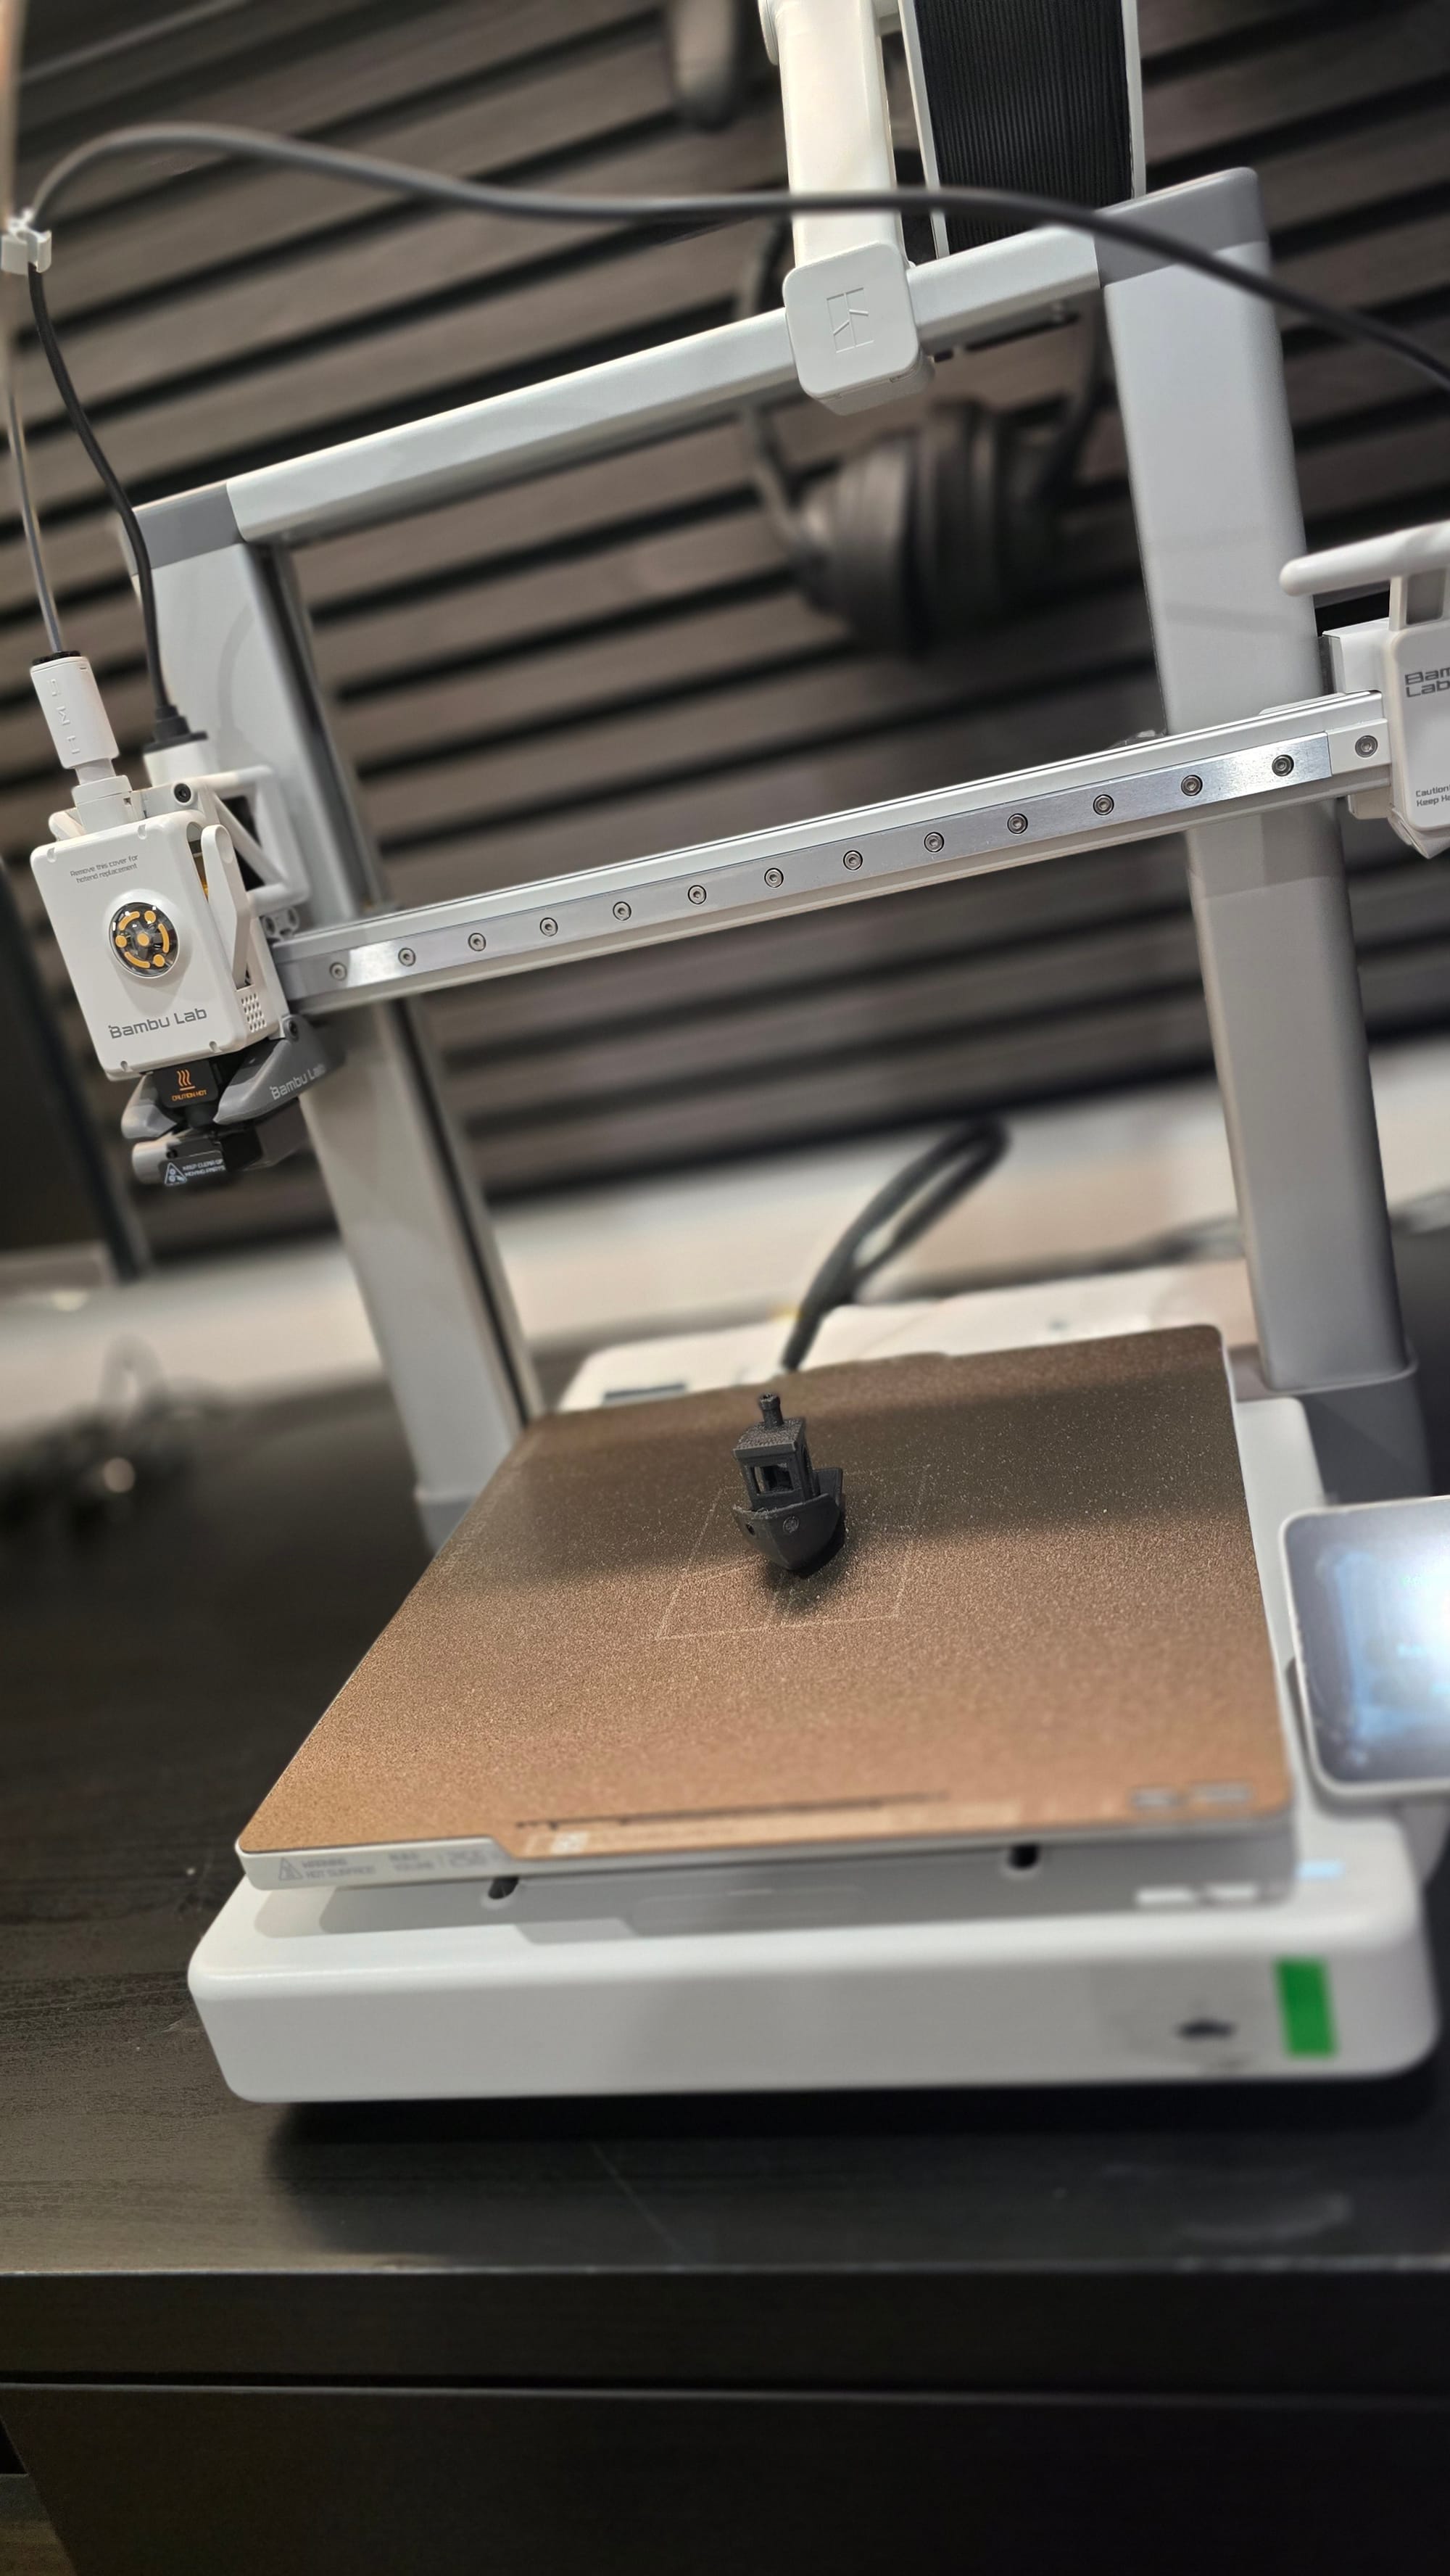
Real-World Use Cases
Here’s what I’ve successfully printed so far:
- Fidget toys and kids figurines
- Custom mounts and brackets for home automation projects
- Tool holders and functional parts for around the house
- Baby-safe toys using PLA+ with nozzles specifically kept lead-free
The quality and reliability of the A1 meant I could spend less time troubleshooting and more time designing and creating.
Would I Recommend It?
Absolutely - especially if you’re a beginner looking to invest in a printer that will grow with you. The A1 is fast, accurate, and packed with smart features that remove many of the barriers new users face. While there are other options available on the market, the time and frustration Bambu Lab products save are well worth the price.
Final Thoughts
Moving to the Bambu Lab A1 has been a game-changer in my 3D printing journey. It bridged the gap between the steep early learning curve and the creative freedom I was aiming for. If you’ve been getting your feet wet with 3D printing and are now ready to dive deeper, the A1 is a rock-solid next step.
If you haven’t read my beginner’s guide yet, that’s a great place to start - it might be a little dated but I'll be updating it as I learn more. Otherwise, stay tuned - I’ll be sharing more prints, tweaks, and tips from this new chapter soon.
Comments ()